Account management
You can update your profile details such as name, email address, phone number, and password from the 'My Account' section.
To update your profile details,
- Sign in to IDrive® e2 account via any browser.
- Click the profile on the top-right corner and click 'My Account'.
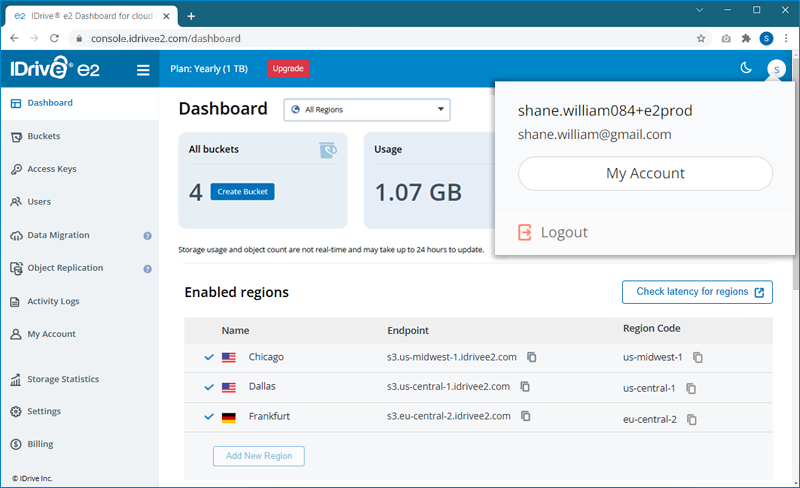
- Go to the 'Profile Details' tab, modify details such as name, email address, phone number, and password.

- Click 'Save Changes' to update the changes made to the profile. Your profile details will be updated.
To change the password,
- Sign in to IDrive® e2 account via any browser.
- Click the profile on the top-right corner and click 'My Account'.
- Navigate to 'Profile Details' > 'Change Password'.
- Provide the current password and enter and confirm the new password.
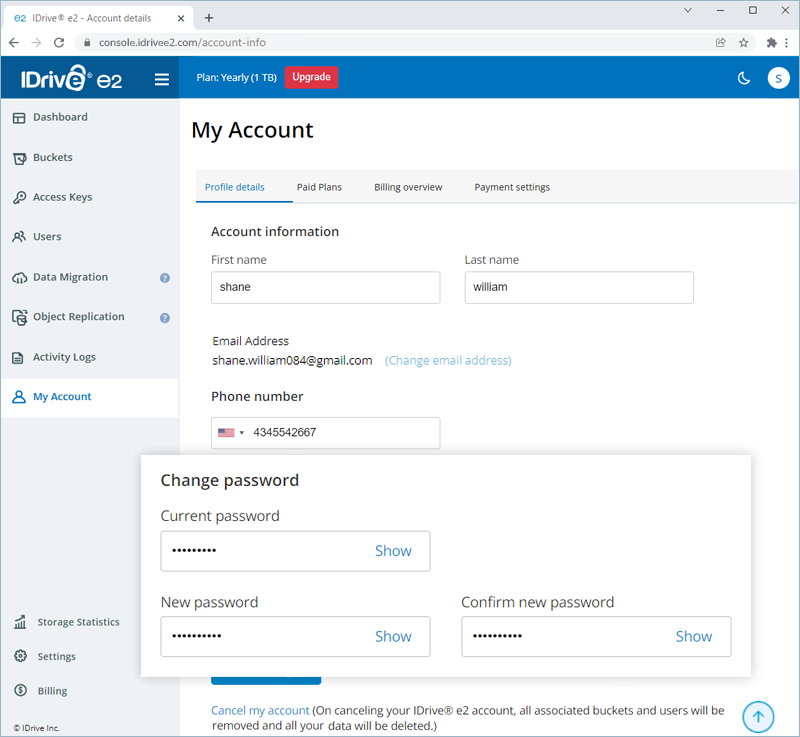
- Click 'Save Changes' to update the new password.
You can view your account storage, downloads, uploads, and object count statistics on the 'Storage Statistics' tab.
To view storage statistics,
- Sign in to IDrive® e2 account via any browser.
- Go to 'Storage Statistics'.
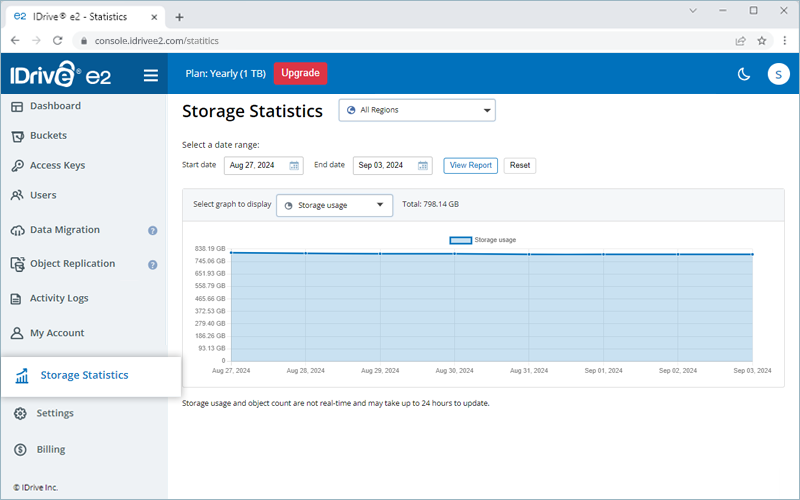
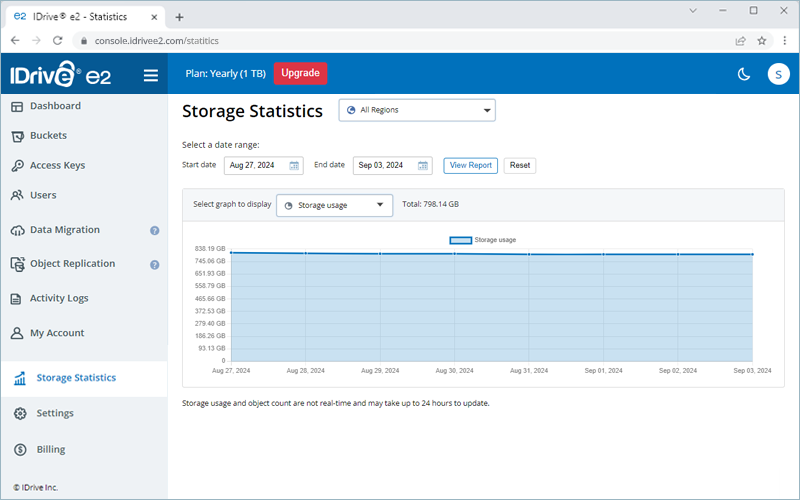
- Choose a date range by selecting a 'Start date' and 'End date' and click 'View Report'.
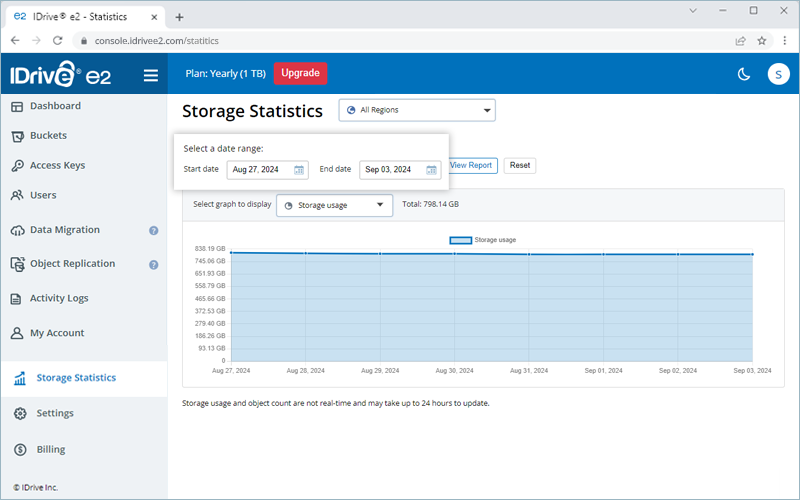
- Select 'Storage Statistics' from the 'Select graph to display' dropdown menu.
You can also select 'Downloads', 'Uploads', or 'Object count' to view related statistics.
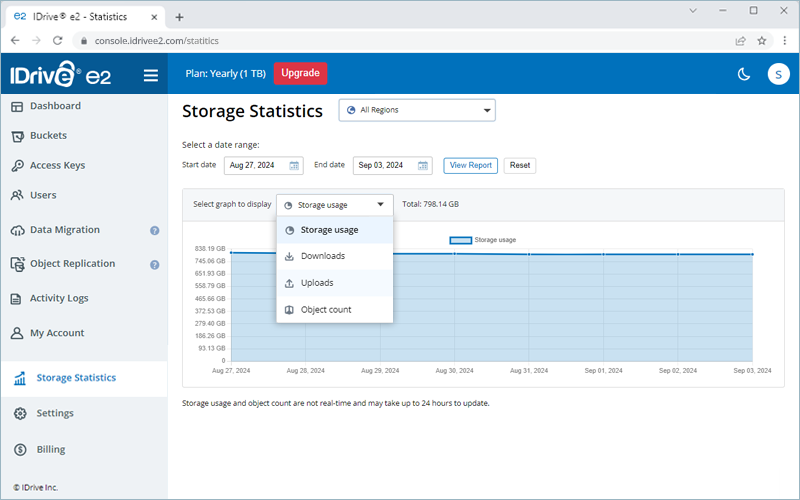
A bar graph will display your account's storage, uploads, downloads, and object count activities across the selected period.
Given below are the IDrive® e2 API specifications:
| Parameter | Specification |
| Maximum number of buckets | No limit |
| Maximum number of objects per bucket | No limit |
| Maximum object size | 5 TB |
| Minimum object size | ОВ |
| Maximum object size per PUT operation | 5 TB |
| Maximum number of parts per upload | 10,000 |
| Part size range | 5 MB to 5 GB. Last part can be 0 B to 5 GB |
| Maximum number of parts returned per list parts request | 10000 |
| Maximum number of objects returned per list objects request | 1000 |
| Maximum number of multipart uploads returned per list multipart uploads request | 1000 |
| Maximum length for bucket names | 63 |
| Maximum length for object names | 1024 |
Yes, you can cancel your IDrive® e2 account at any time.
To cancel your account,
- Sign in to IDrive® e2 account via any browser.
- Click the profile on the top-right corner and click 'My Account'.
- Click 'Cancel my account' in the 'Profile Details' tab.
- Enter your password, reason to cancel, and other details in the pop-up window and click 'Cancel My Account'.
- In the confirmation popup, click 'Cancel My Account'.
Note: On account cancellation, all your buckets, users, and data associated with your account will also be removed. You will no longer be able to access your IDrive® e2 account.
If any public bucket is identified or used for phishing attacks or malware, then we have a right to disable the user account. Read our terms and conditions for full details.
Free trial users can enable as many regions as they want. However, if a region remains inactive and no data is stored in it for more than 30 days, the region will be removed from the account. To keep the region active, you must upload some data to your account in that region.
IDrive® e2 allows you to process payment via credit and debit cards. For plans higher than 50 TB, you can make the payment via check and bank wire transfer. Contact support to enable invoice payment for your account.
To upgrade/subscribe to a plan via credit or debit card,
- Sign in to IDrive® e2 account via any browser.
- Go to 'My Account' > 'Plan options'.
- Enter your card details under 'Credit card information'.
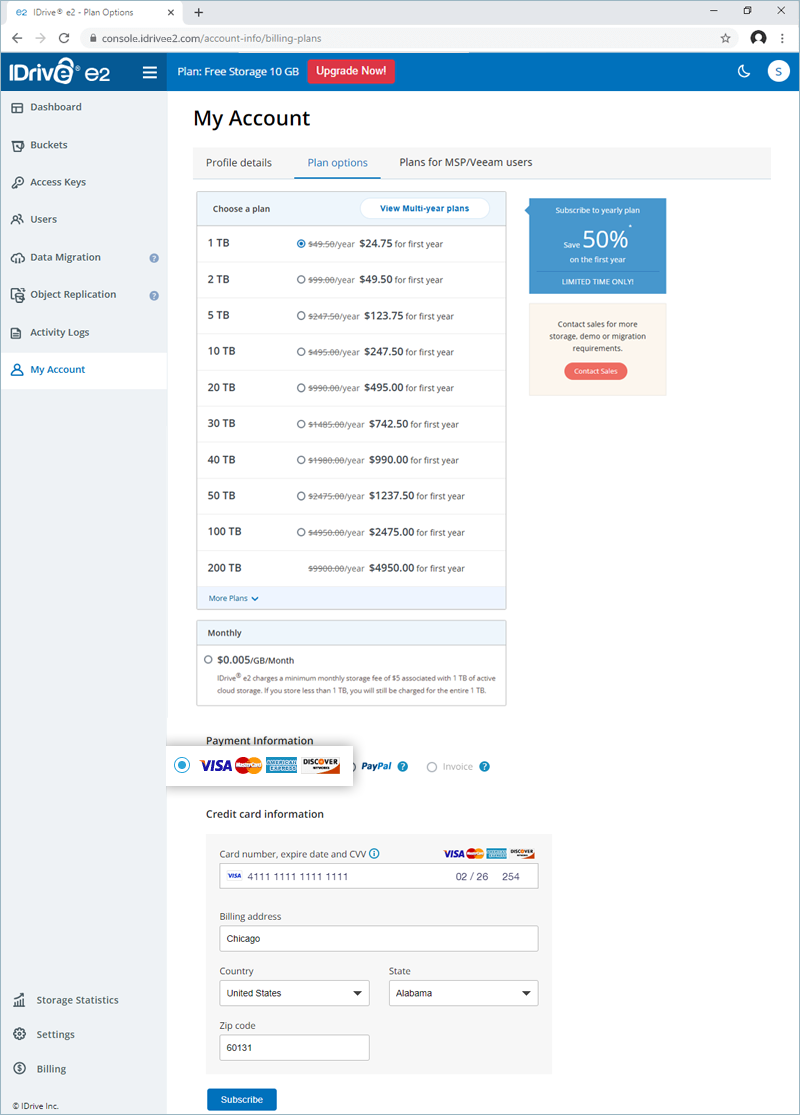
- Click 'Subscribe'/'Upgrade'.
- Click 'Continue' to confirm. Your account will be upgraded.
To upgrade/subscribe to a plan via PayPal,
- Sign in to IDrive® e2 account via any browser.
- Go to 'My Account' > 'Plan options'.
- Under 'Payment Information', select 'PayPal'.
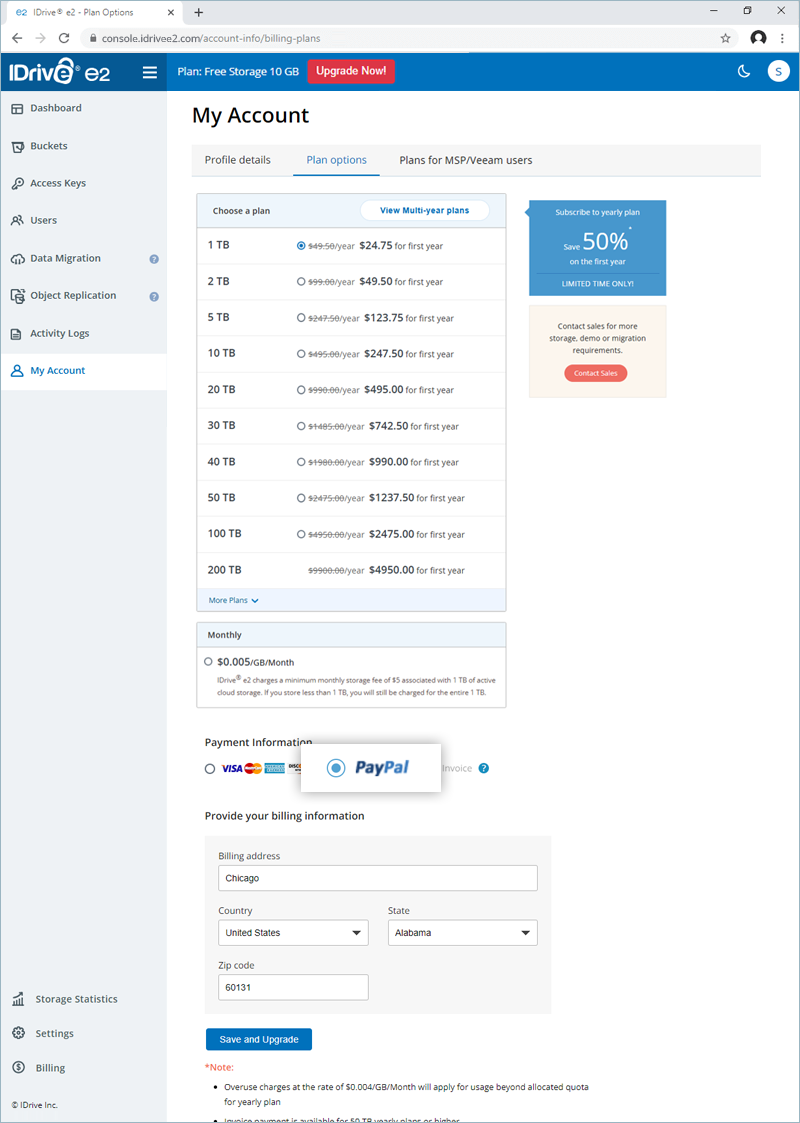
- Enter your billing address, country, state, and zip code.
- Click 'Save and Upgrade'.
- Click 'Continue' to confirm. Your account will be upgraded.
You can upgrade/subscribe to a 50TB or higher plan via invoice payment. Contact support to enable this feature and then follow the steps below.
- Sign in to IDrive® e2 account via any browser.
- Go to 'My Account' > 'Plan options'.
- Enter your company name, address, and contact details under 'Provide your billing information'.
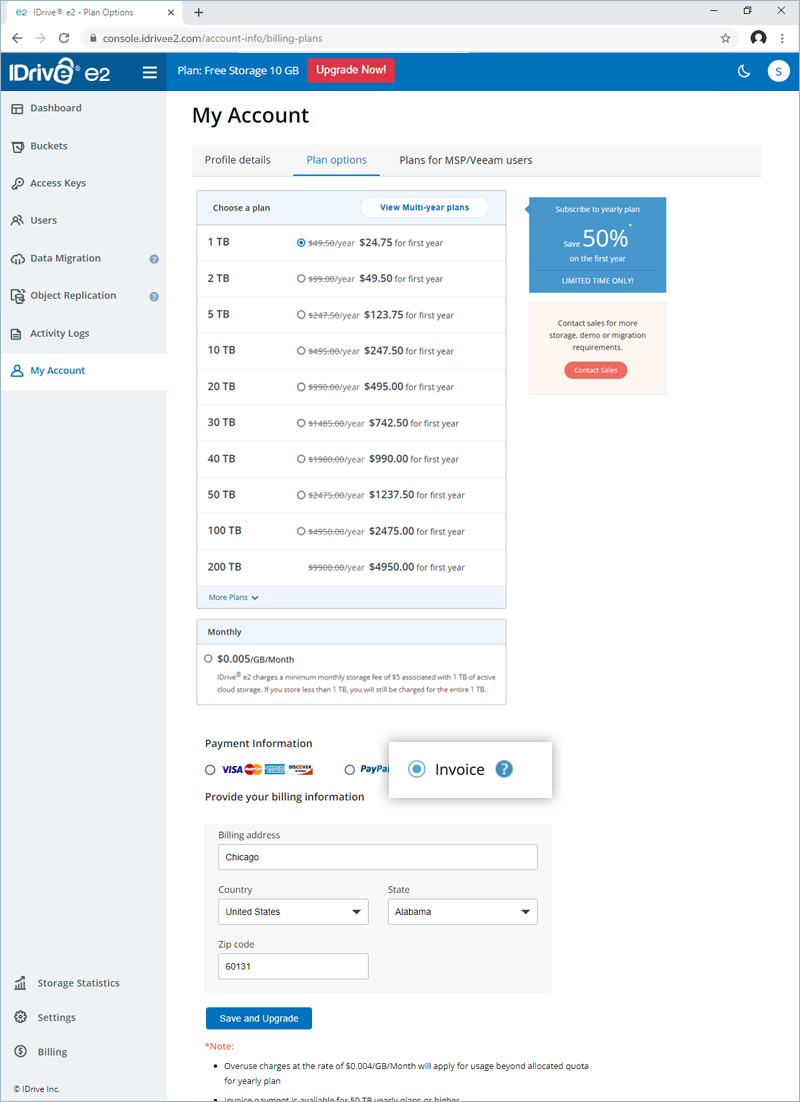
- Click 'Save and Upgrade'.
- Click 'Continue' to confirm. Your account will be upgraded.
- You will receive an email with the address for the payment. Process the payment via check/bank wire transfer.
To view your billing information,
- Sign in to IDrive® e2 account via any browser.
- Go to 'My Account' > 'Billing Overview'.
- Select a month from the drop-down menu. A bar graph will display the upload and download activities of your account for the selected month, with a summary of your storage and the incurred charges.
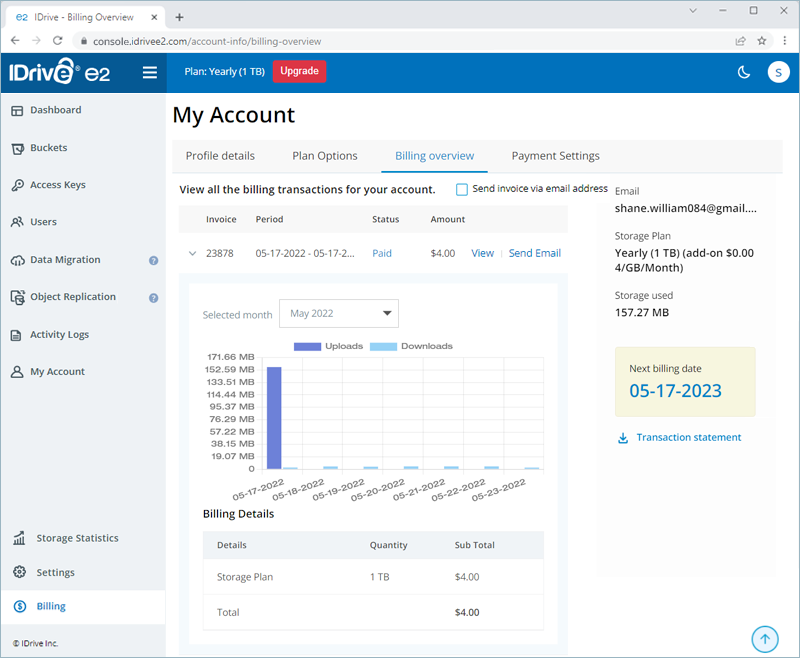
- Click 'View' next to an invoice to view the same.
- Click 'Send Email' next to an invoice to send it to your email address.
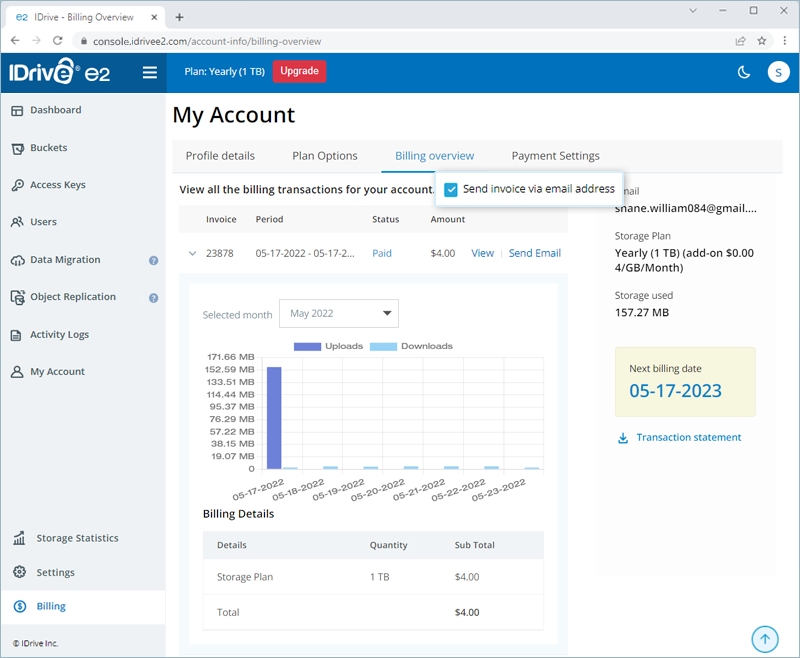
- Select the checkbox 'Send invoice via email address' to automatically send all future invoices to your email address once generated.
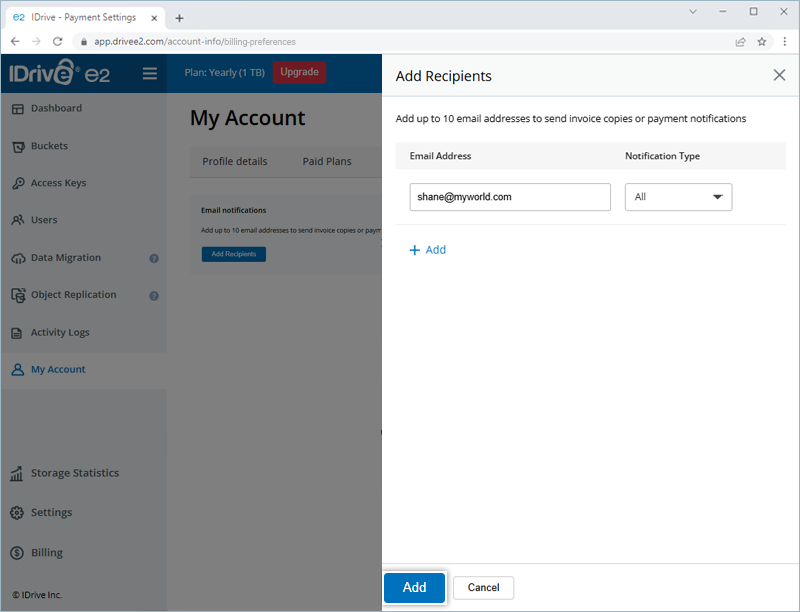
Yes, you can add up to 10 additional email addresses to receive invoice copies and other billing notifications for your account.
To add an email recipient,
- Sign in to your IDrive® e2 account.
- Go to Billing > Billing Preferences.
- Click Add Recipients.
- Enter the email address of the recipient.
- Select the types of notifications - Invoice, Payments, All.
Note: To receive invoices via email, you must enable the related setting under Billing Overview. Know more - Click Add.
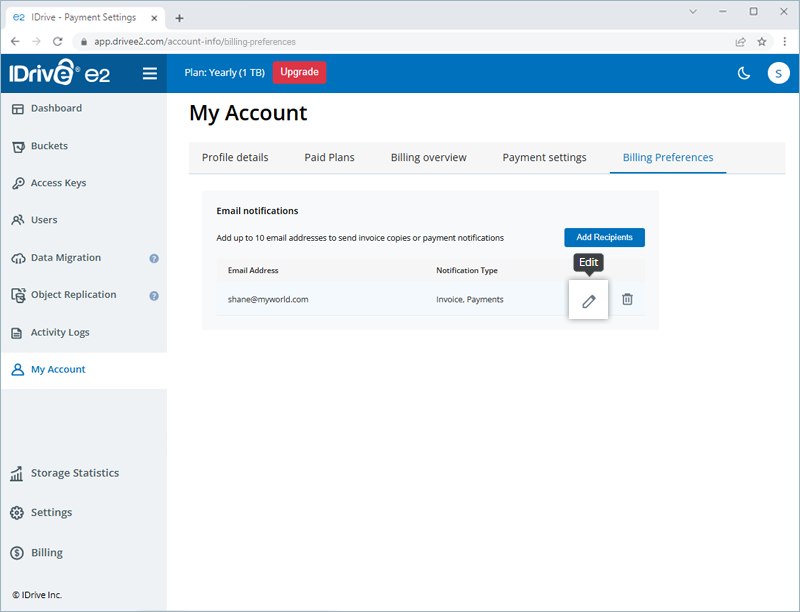
You can  the notification preferences by hovering over the email address and making the necessary changes.
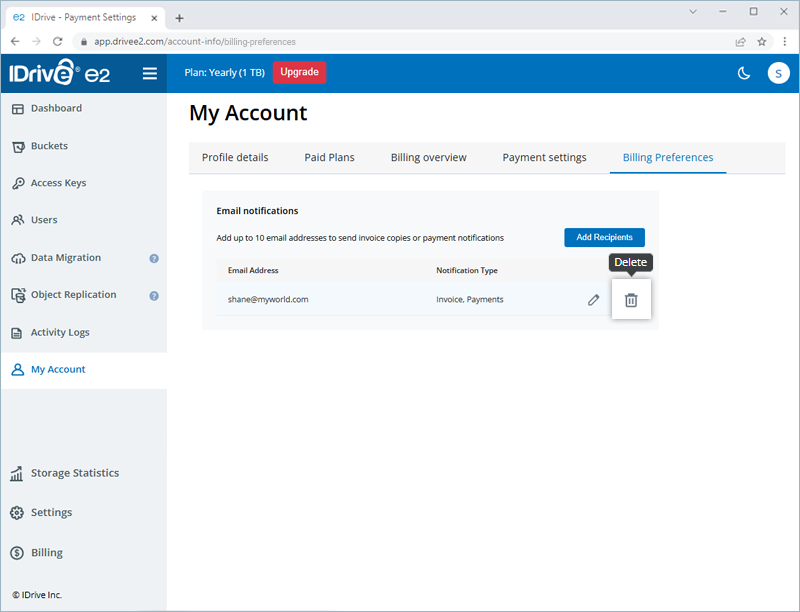
To delete a recipient, click  next to the email address.
To update your credit card information,
- Sign in to IDrive® e2 account via any browser.
- Go to 'Billing' > 'Payment Settings'.
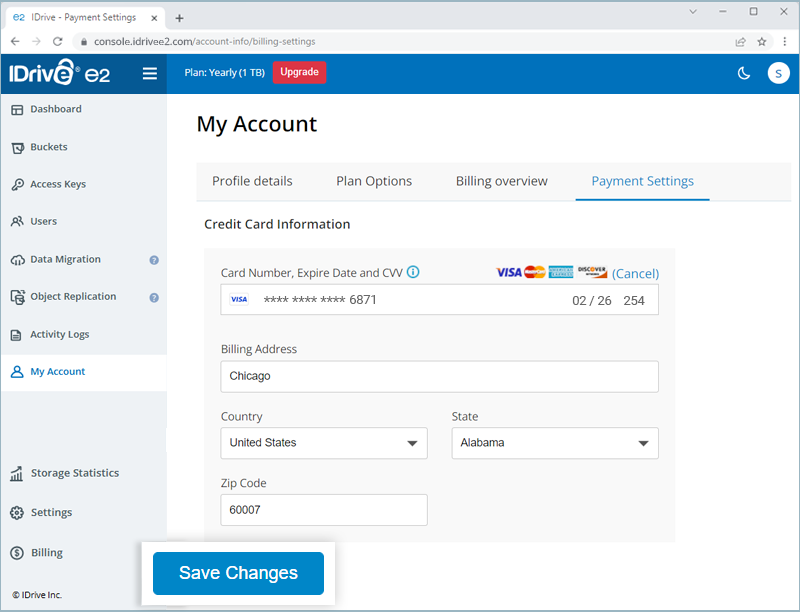
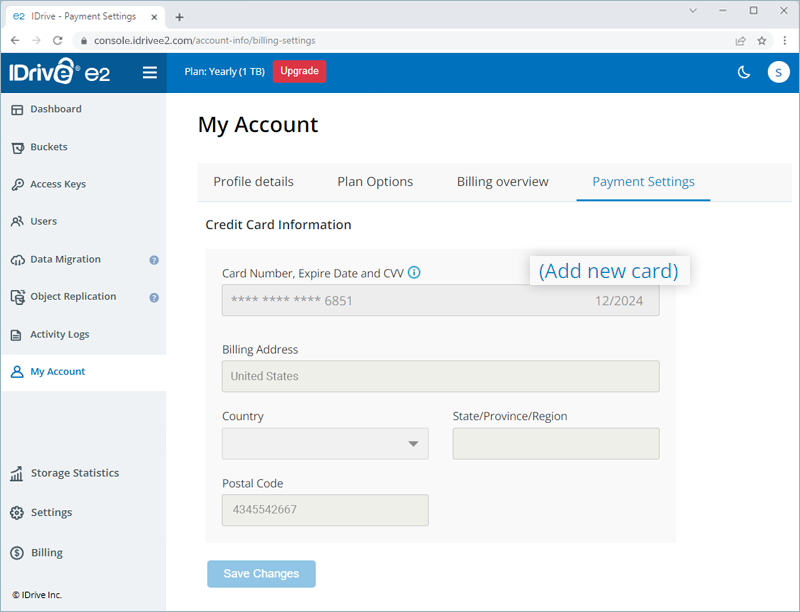
- In the 'Add new card' section, enter the new card number, expiry date, billing address, and CVC.
- Click 'Add Card'. Your card will be added to the 'Saved cards' list.
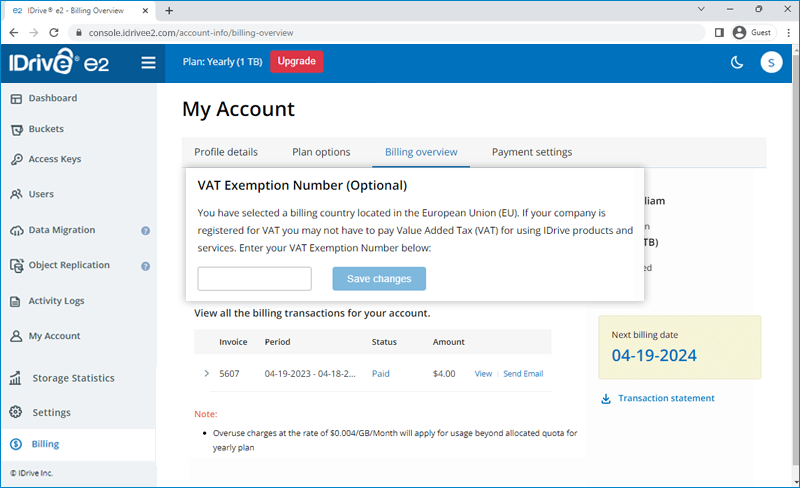
Yes, if your business is based in the EU region, you will have the option to add your VAT ID to your IDrive® e2 account.
To add VAT ID,
- Sign in to your account via the web.
- Click on your username, on the top right corner of the screen and select 'Account'.
- Select 'Billing Information'.
- Enter the VAT ID and click 'Save Changes'.
Note:
- VAT is location-based, so the field will appear in the 'Billing Information' section of your account, only if it is applicable for your chosen country.
- VAT ID updated to your account may be validated by IDrive® e2.
For information related to IDrive® e2 VAT number, send an email to support@idrive.com.
There may be pending charges against your account if your selected mode of payment could not be charged during auto-renewal.
To clear pending charges via credit card,
- Login to your account.
- Click 'Update card information' in the 'Pending charges' popup.
- Click 'Add new card' and update your credit card information.
- Click 'Save and Apply Pending Charges' to pay the outstanding dues.
To clear pending charges via Paypal, you can select Paypal in the 'Pending charges' popup.