Integrate Quest Rapid Recovery with IDrive® e2
Quest Rapid Recovery backs up and recovers data quickly, whether it's physical, virtual, or in the cloud. It runs seamlessly without impacting users and can be easily set up with IDrive® e2 for added configuration options. Learn more about Quest Rapid Recovery.
Prerequisites:
Before uploading files using Quest Rapid Recovery, you require:
- An active IDrive® e2 account. Sign up here if you do not have one.
- A bucket in IDrive® e2. See how to create a bucket.
- A valid Access Key ID and Secret Access Key. Learn how to create an access key.
- An active account of Quest Rapid Recovery.
Add a New Cloud Account
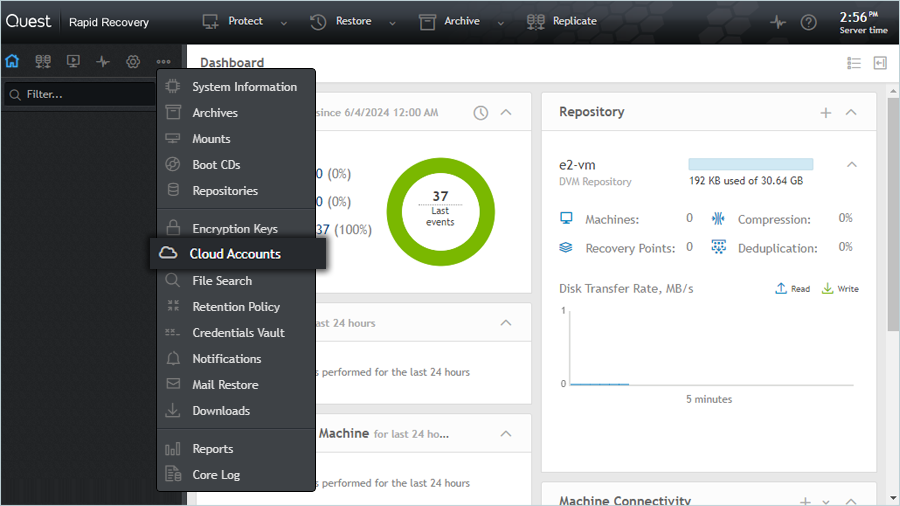
- Go to Dashboard, click
 , and select Cloud Accounts.
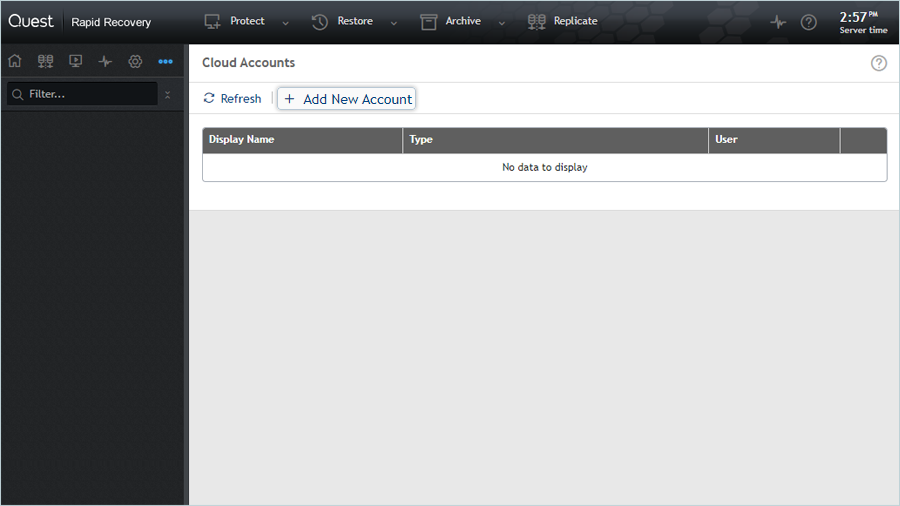
- Click Add New Account.
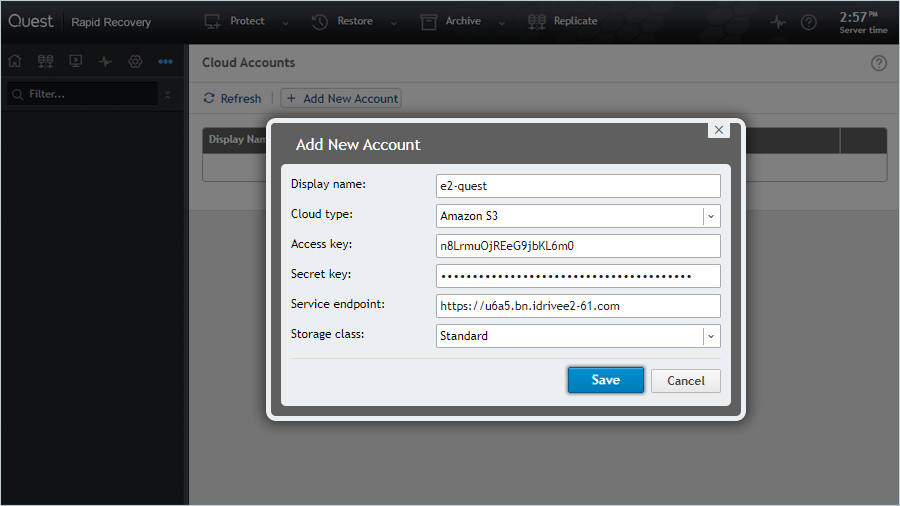
- In the Add New Account window,
- Enter a Display name for a new account.
- Select Amazon S3 as the Cloud type.
- Enter IDrive® e2 Access Key as the Access Key.
- Enter IDrive® e2 Secret Access Key as the Secret Key.
- Enter IDrive® e2 storage endpoint as a Service endpoint.
- Select Storage Class Standard.
- Click Save.
Result: The added account will be listed.
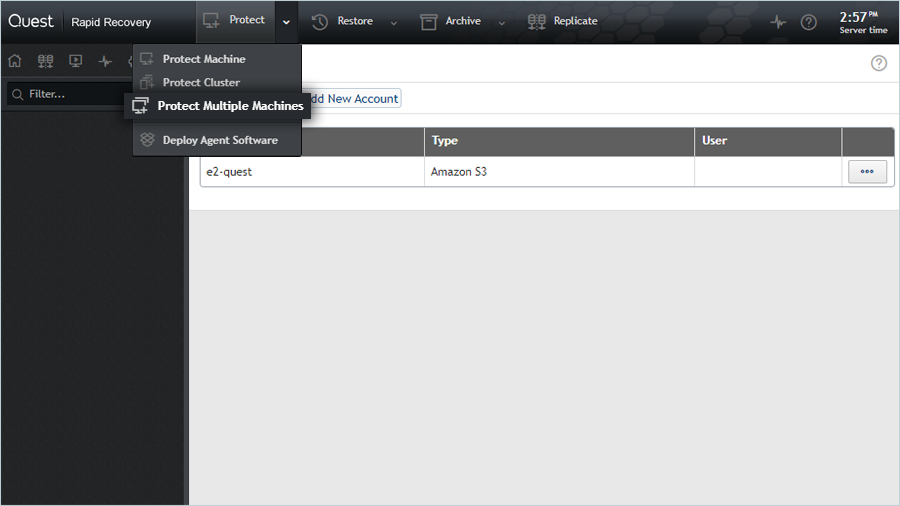
Create a Backup Job with VM
- In the main menu, navigate to Protect > Protect Multiple Machines.
- Select Typical in Protect Multiple Machine Wizard and click Next.

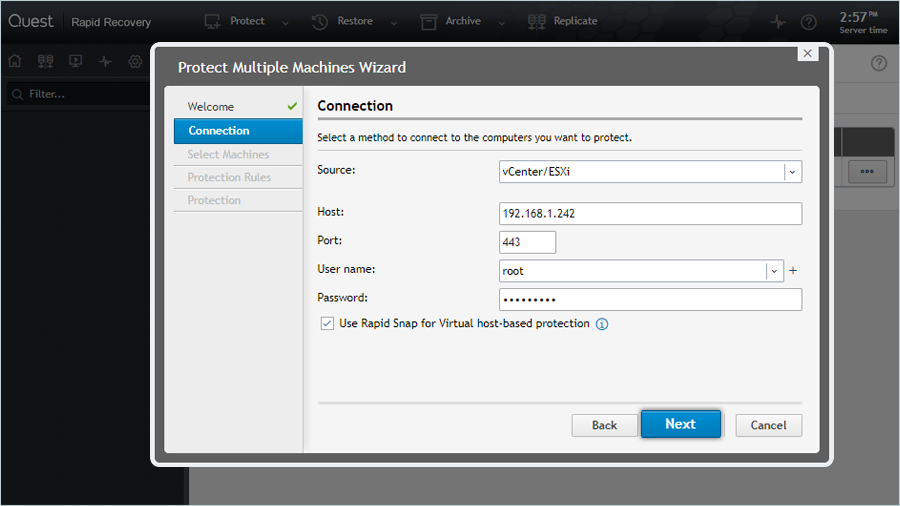
- In the Connection tab,
- Select vCenter/ESXi as a Source.
- Enter your Host name.
- Enter the Port number (Ex: 443).
- Enter your host Username and password.
- Click Next.
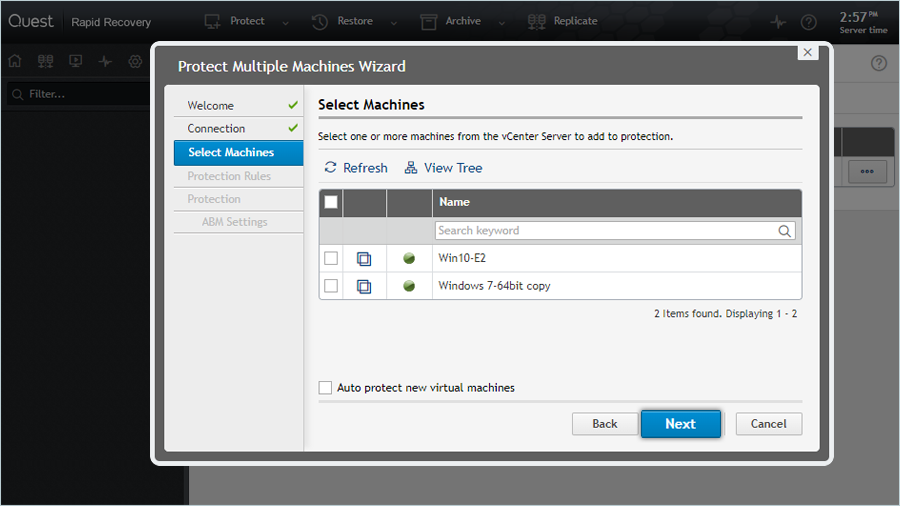
- Select a Machine you want to backup and click Next.
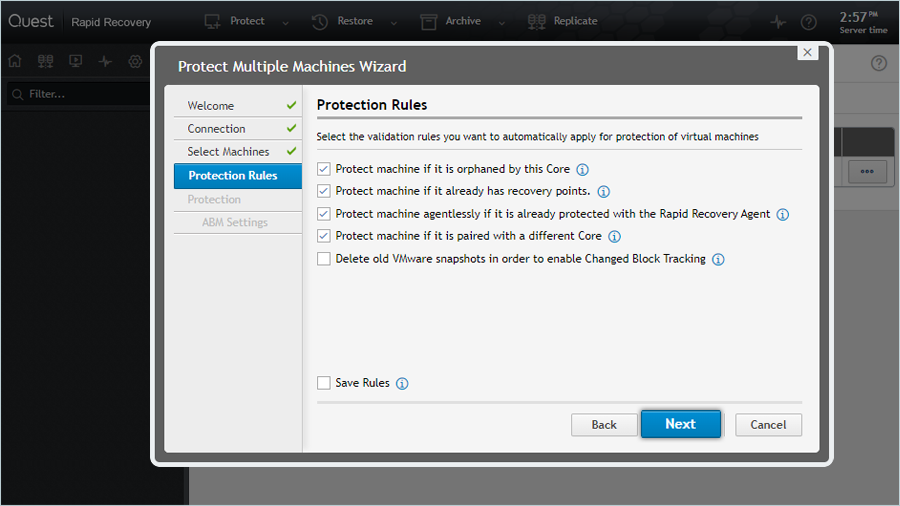
- Select Protection Rules based on your requirements.
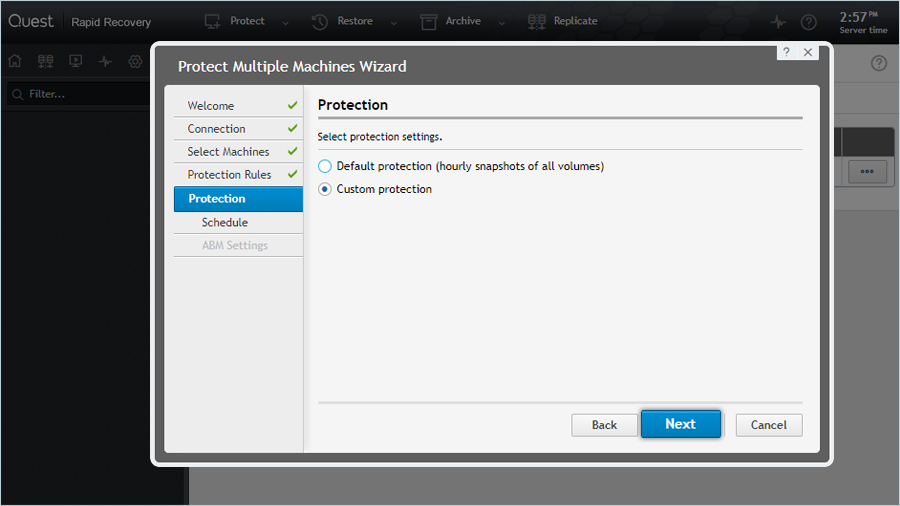
- Select your protection settings and Click Next.
- In ABM Settings, select Apply exclusions to subdirectories.
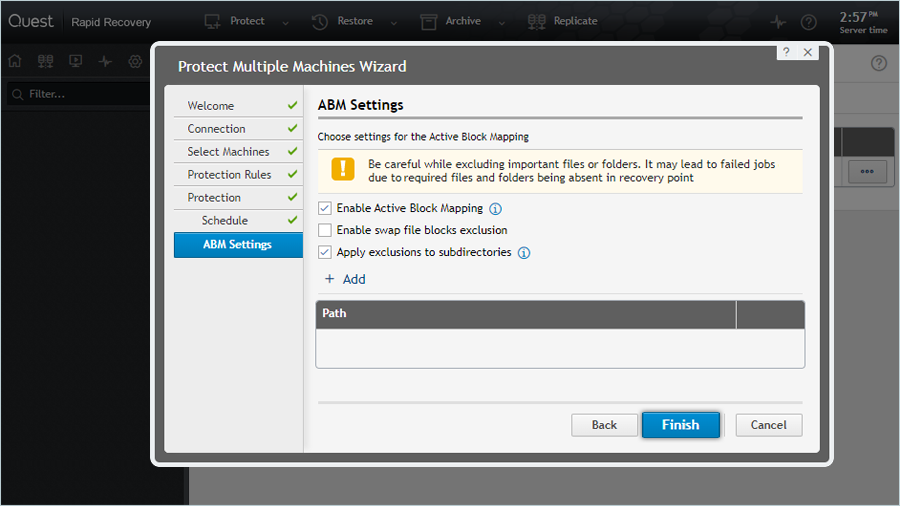
- Click Finish.
Create an Archive Location to store backup
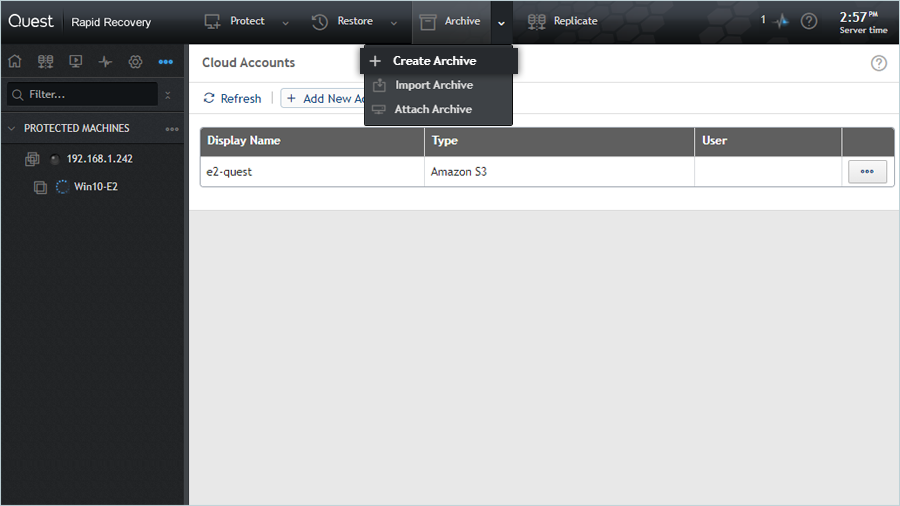
- In the main menu, go to Archive > Create Archive.
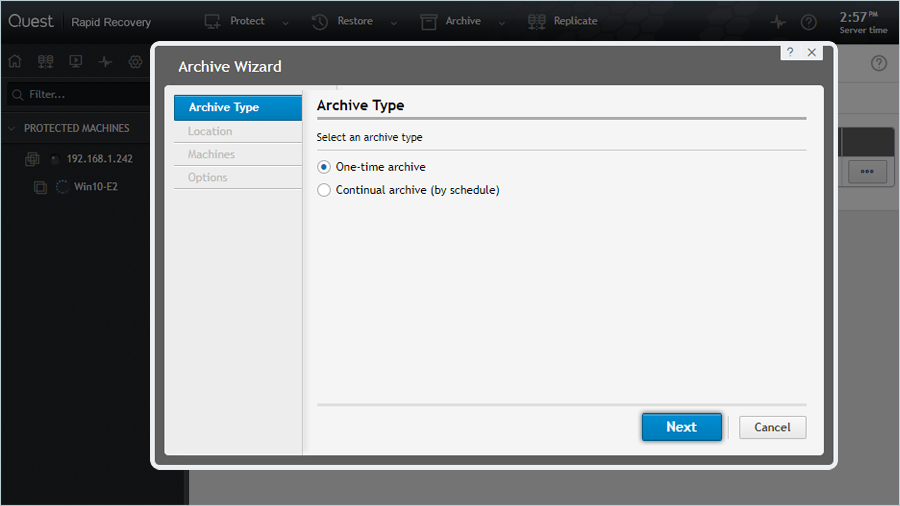
- Select a One-time archive as an Archive Type.
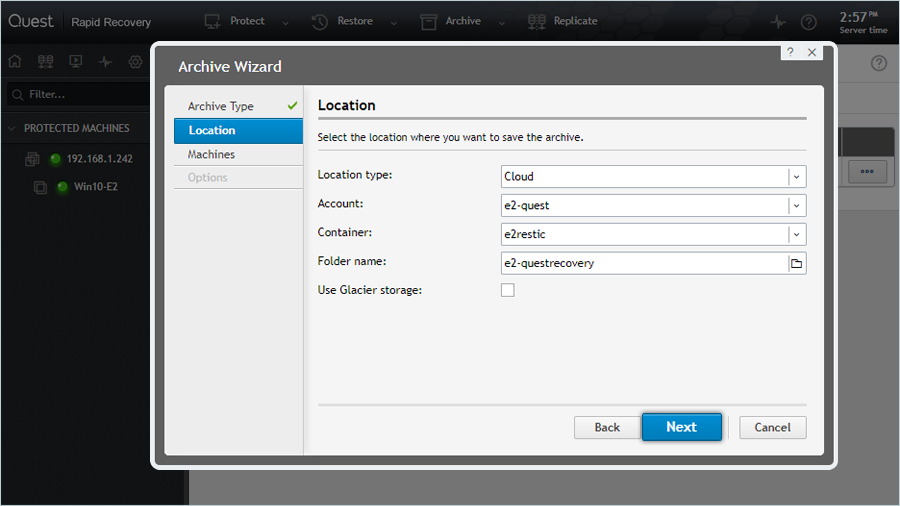
- In the Location tab,
- Select Cloud and Location type.
- Select IDrive® e2 account as Account.
- Select your bucket as a Container.
- Enter the Folder name.
- Click Next.
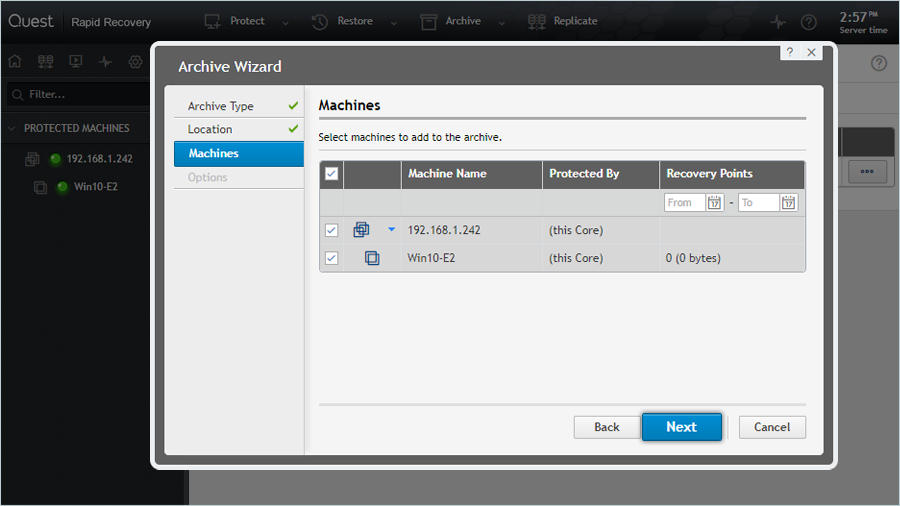
- Under Machine select the VM for which you created a backup job. It will be stored in the archive.
- Click Next.
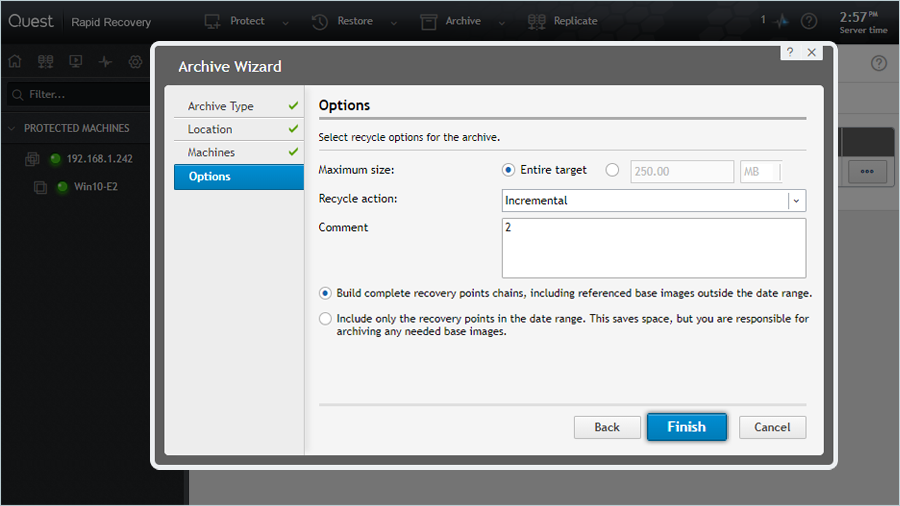
- In the Options tab,
- Select Incremental as a Recycle action.
- Click Finish.
Result: After creating an Archive, the user can view the backup progress in the events screen. After taking a snapshot, that will be stored in the e2 bucket.
Note: Data restoration is handled by your specific backup solution provider and is affected by multiple variables that are unique to your environment. For application-related enquiries/support, it is strongly recommended you seek guidance from the technical team of your backup solution provider.