Related Links
Integrate NirvaShare with IDrive® e2
NirvaShare is a secure solution for managing file access and sharing. It allows you to easily share the files/folders stored on IDrive® e2 hot cloud storage with external users. Learn more about NirvaShare.
Prerequisites:
Before uploading files using NirvaShare, you require:
- An active IDrive® e2 account. Sign up here if you do not have one.
- A bucket in IDrive® e2. See how to create a bucket .
- Valid Access Key ID and Secret Access Key. Learn how to create an access key.
- A valid NirvaShare account.
Setup NirvaShare with IDrive® e2
- Sign in to NirvaShare admin console.

- Go to Settings.
- Select Storage.
- Click
 to create File Storage.
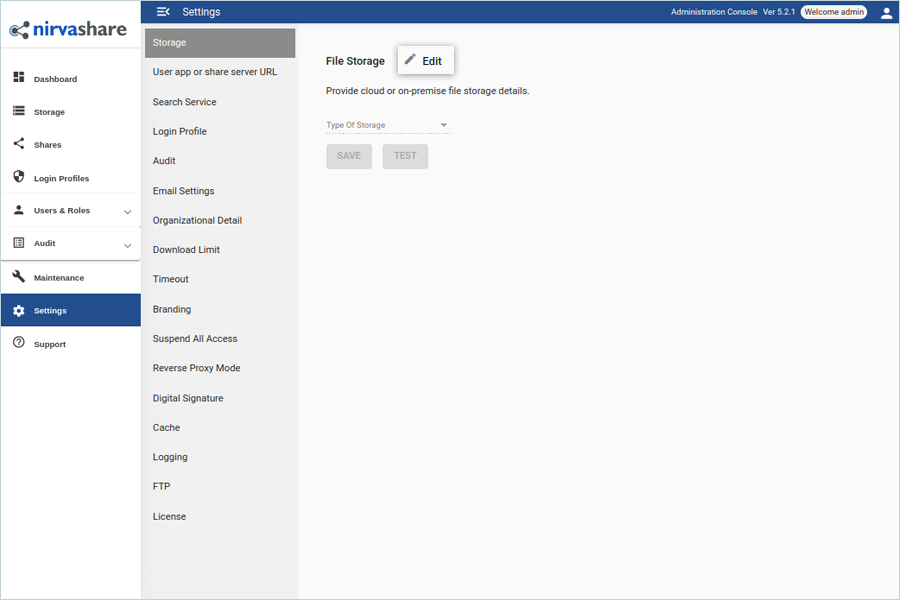
- Select S3 Compatible as the type of storage.
- Enter your IDrive® e2 Access Key ID as the Storage access key.
- Enter your IDrive® e2 Secret Key as the Storage secret key.
- Enter your e2 storgae endpoint as the Endpoint URL (https:// is Mandatory).
(Ex: https://u6a5.bn.idrivee2-61.com) - Click TEST to verify that the entered storage credentials are valid or not
- Click SAVE.

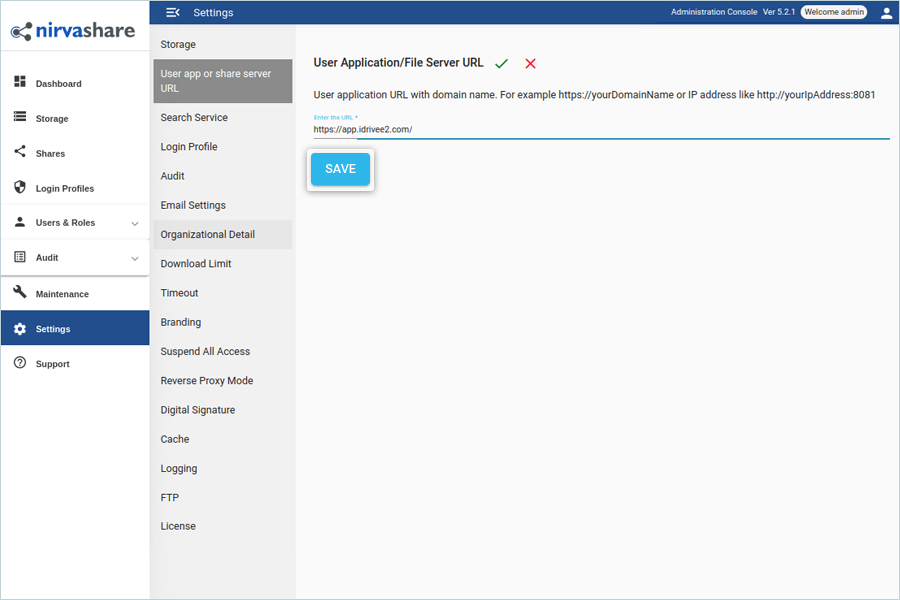
- Go to User App or share server URL.
- Click Edit to enter the URL.
- Enter the user application URL.
(Ex: https://YourDomainName) - Click SAVE.
Note: Click Storage to verify the objects that are uploaded in the IDrive® e2 bucket.
Share File/Folder through Username and Password Authentication
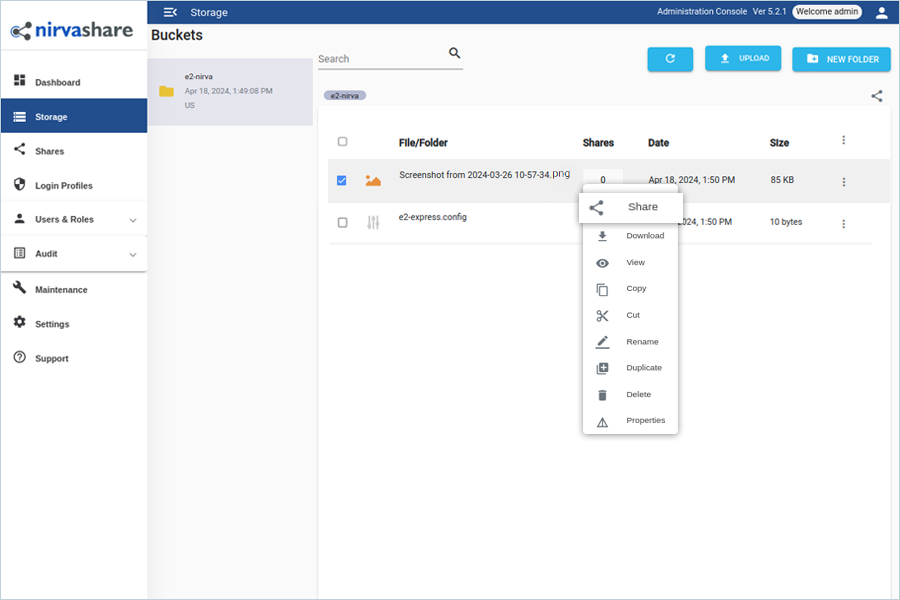
- Go to Storage tab from the left navigation pane.
- Select Folder/File from files available in storage.
- Right-click on File/Folder.
- Select Share.
- Click Permissions and grant Permissions (Access Levels).
- Click Authentication and select Form Based (Single/Multi User).
- Click NEW and enter basic information, then click CREATE.

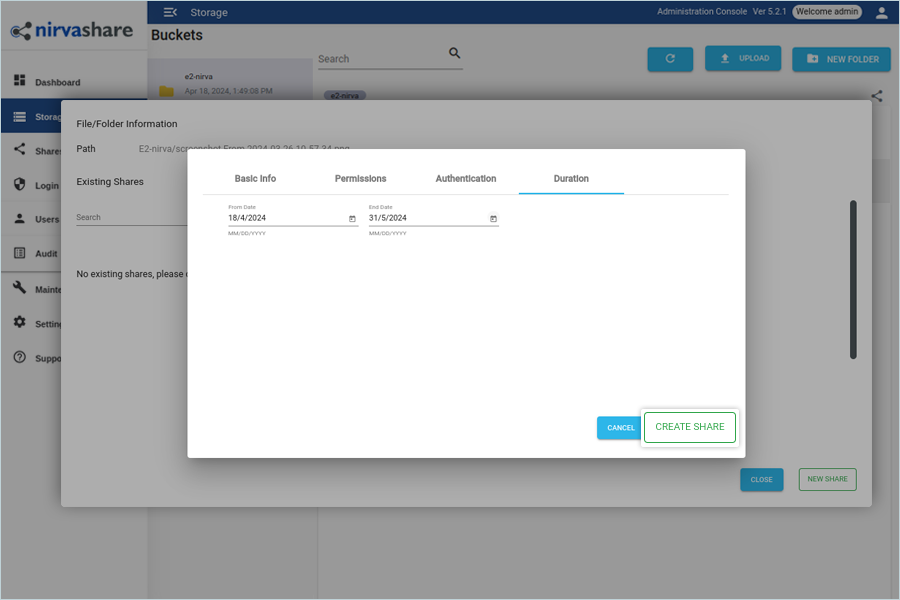
- Click Duration from the calendar.
- Click CREATE SHARE.
- Right-click on the created Share and select the option to Share (Ex: Email / Copy Sharing Link).
Note: If you select email, the user will get an email with the App URL and credentials to access the files/folders.