Integrate NAKIVO Backup and Replication with IDrive® e2
NAKIVO is a fast and multi-platform backup solution that delivers backup, replication, instant restore, and ransomware recovery for various data loss scenarios, from individual file recovery to entire virtual machine (VM) recovery. Configure NAKIVO backup and recovery solution with IDrive® e2 to store backups of VMs and physical machines in your IDrive® e2 cloud account. Learn more about NAKIVO.
Prerequisites:
Before uploading files using NAKIVO Backup and Replication, you require:
- An active IDrive® e2 account. Sign up here if you do not have one.
- A bucket in IDrive® e2. See how to create a bucket.
- A valid Access Key ID and Secret Access Key. Learn how to create an access key.
- An active NAKIVO account.
Add Inventory
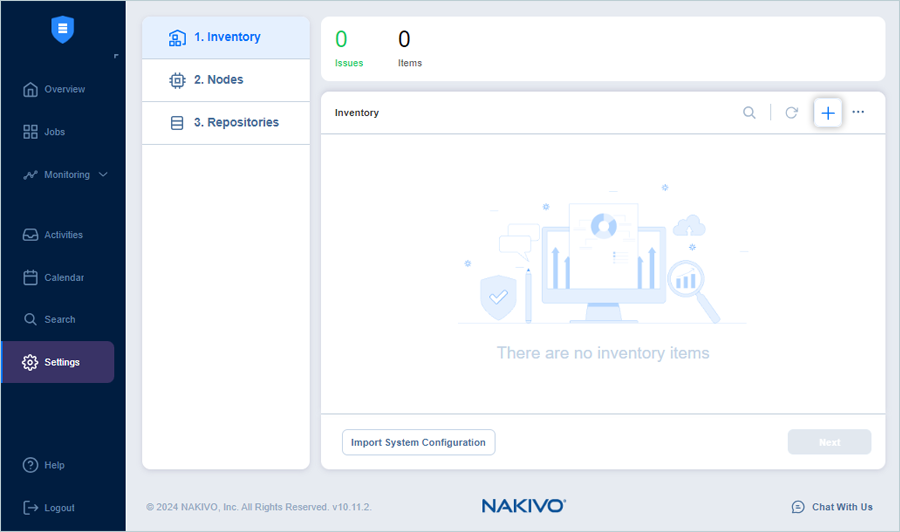
- Launch Nakivo.
- Go to Settings > Inventory.
- Click
 to add a new inventory.
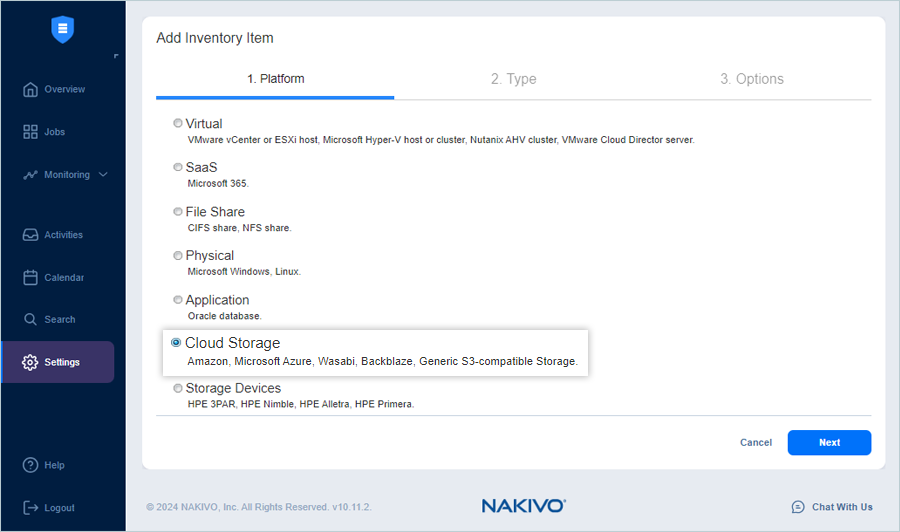
- Select Cloud Storage as a Platform and click Next.
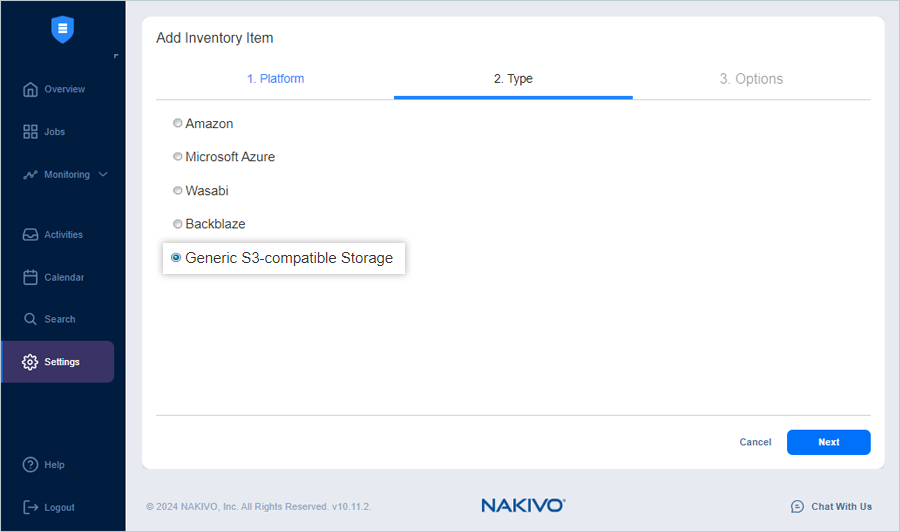
- Select Generic S3-compatible Storage as a Type and click Next.
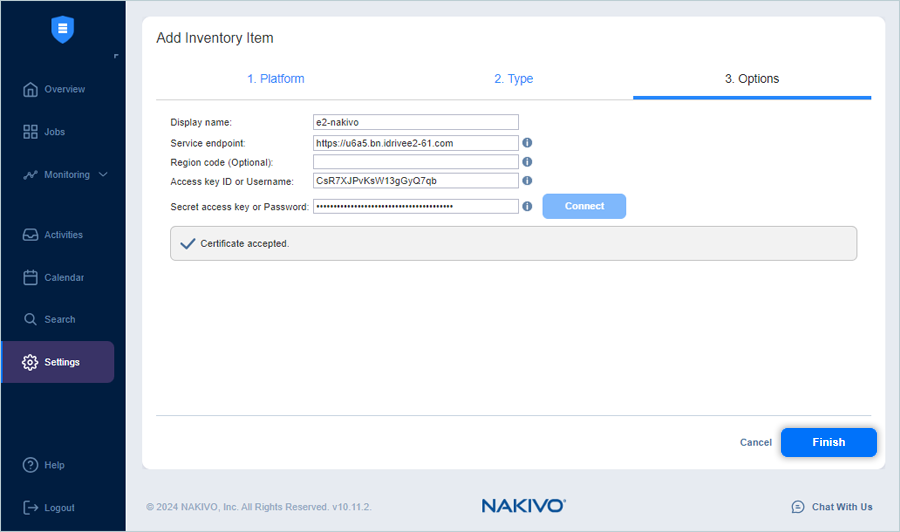
- In the Options window:
- Enter a Display name.
- Enter IDrive® e2 storage endpoint as Service endpoint (https:// is Mandatory)
- Enter the IDrive® e2 Access key as Access key ID.
- Enter the IDrive® e2 Secret Access Key as the Secret Access Key.
- Click Connect and accept the Certificate.
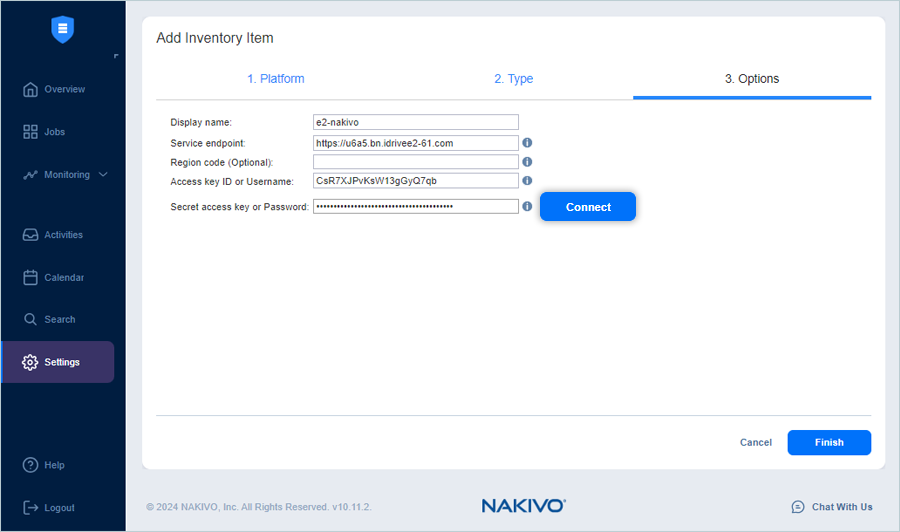
- Click Finish.
Result: Added inventory will be displayed in the Inventory list.
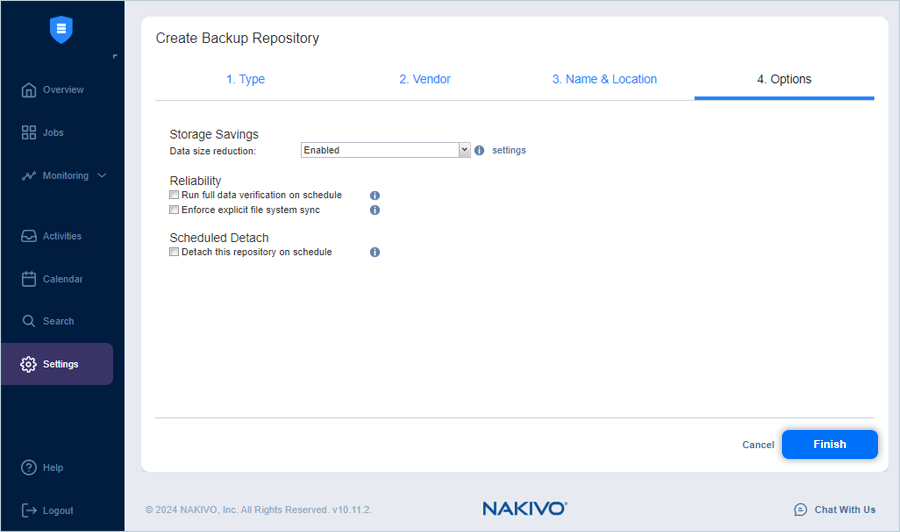
Create Backup Repository
- Go to Settings > Repository.
- Click to add a new repository.

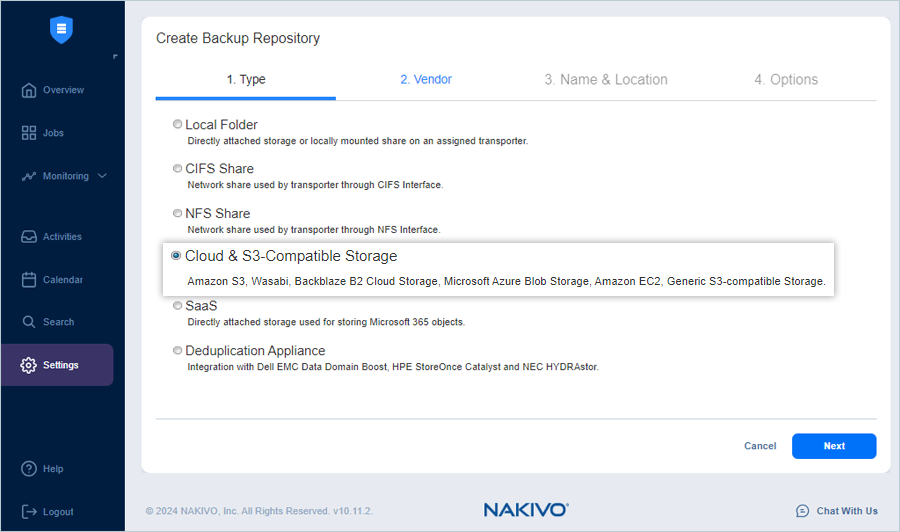
- Select Cloud & S3-compatible Storage as a Type and click Next.
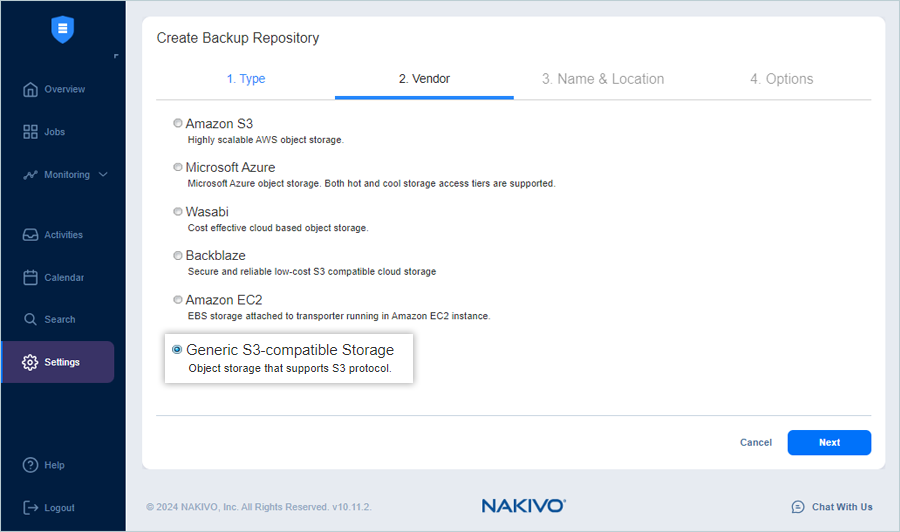
- Select Generic S3-compatible Storage as a Vendor and click Next.
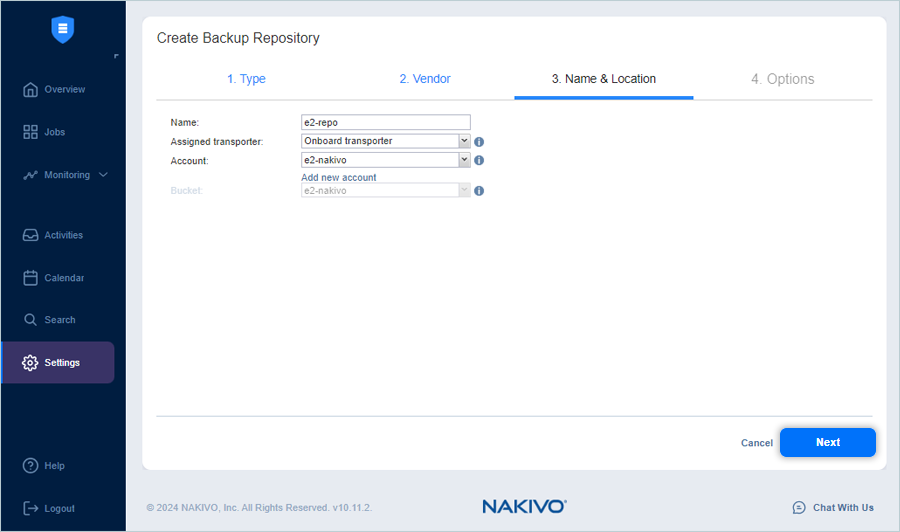
- In the Name & Location window:
- Enter a Name for the Repository.
- Select Onboard transporter as an Assigned transporter from the dropdown.
- Select added inventory as Account from the dropdown and click Next.
- In the Options window, keep the default options only and click Finish.
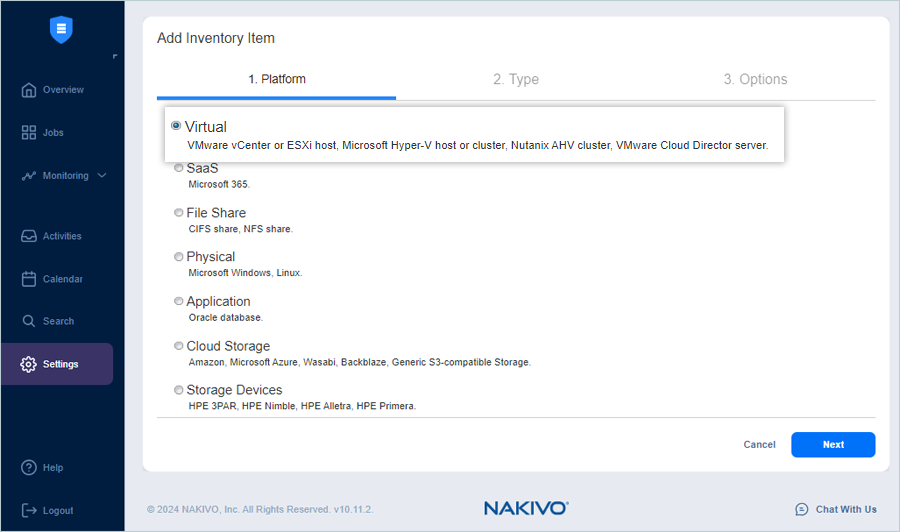
Add infrastructure to be backed up in Nakivo by adding a VM
- Go to Settings > Inventory > .
- Select Virtual as a Platform.
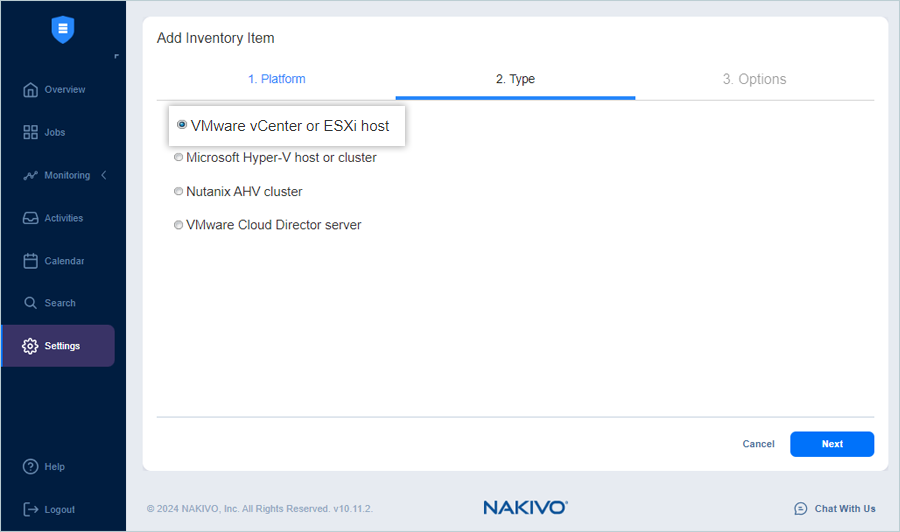
- Select VMWare vCenter or ESXi host as a Type.
- In the Options window:
- Enter a Display name.
- Enter your VMWare vCenter or ESXi host as a Hostname or IP.
- Enter your VMWare vCenter or ESXi username as a Username.
- Enter your VMWare vCenter or ESXi password as a Password.
- Enter 443 as the Web services port.
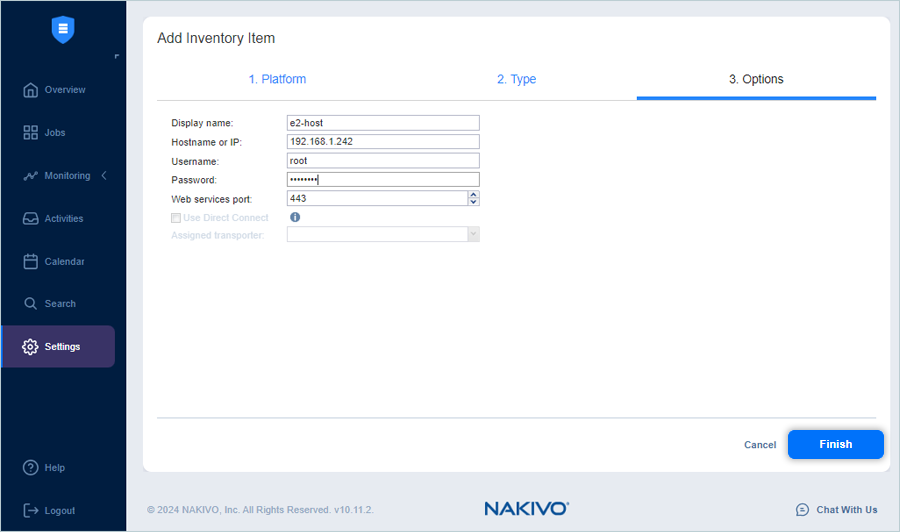
- Click Finish.
Add New Backup Job
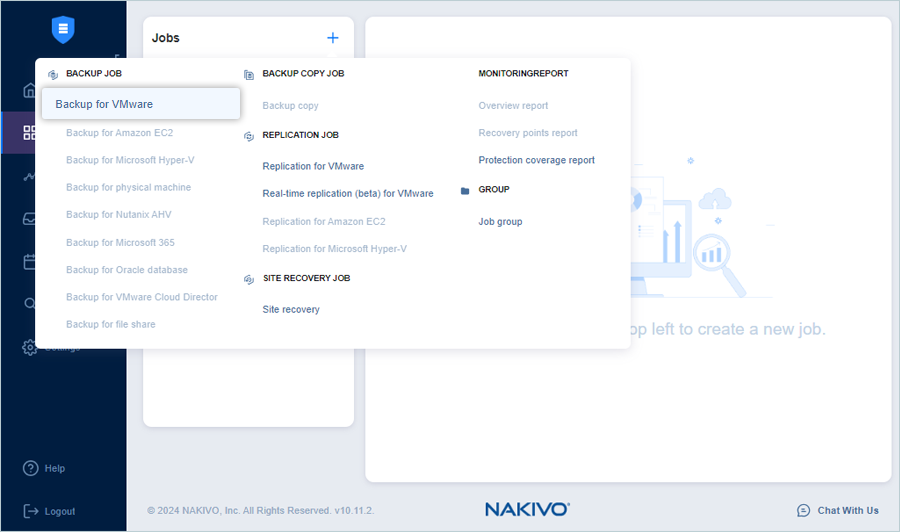
- Select Jobs from the menu and click to add a new job.

- Select Backup for VMWare from the Backup Job list.
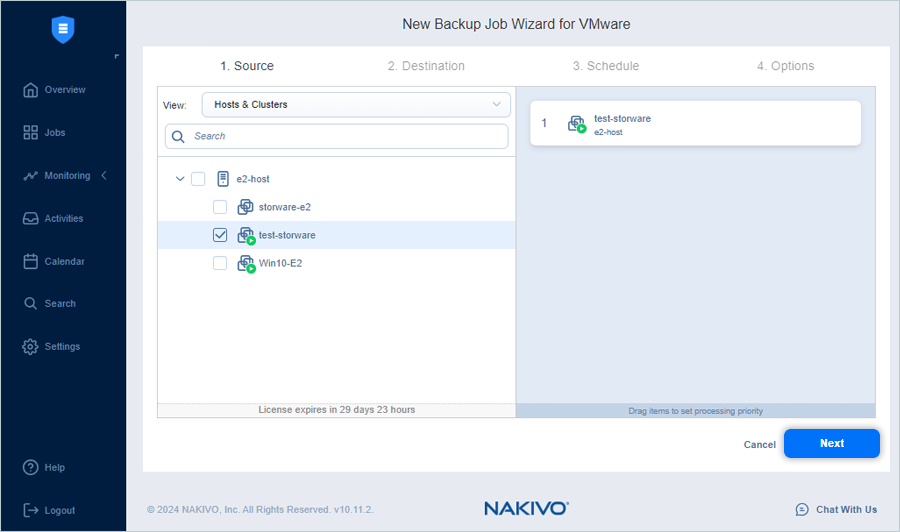
- In the New Backup Job window:
- Select VM from Host as Source and click Next.
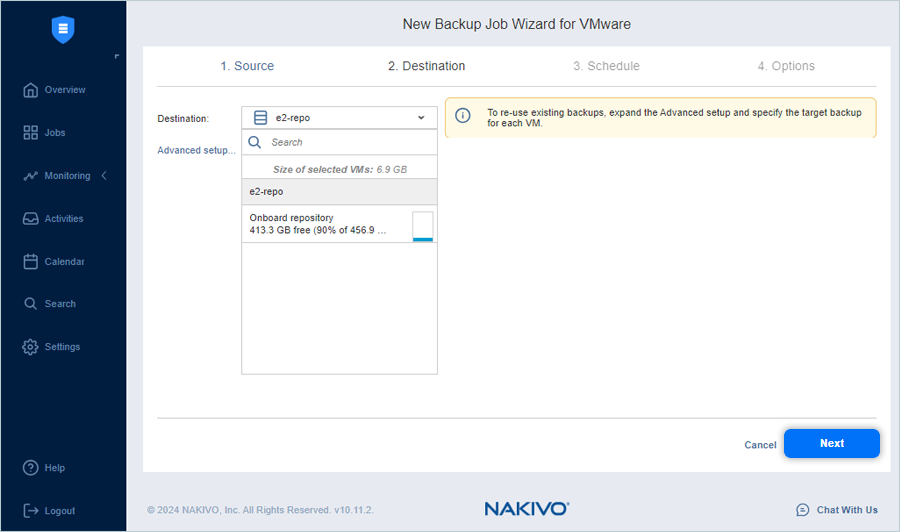
- Select added e2 Repository as Destination and click Next.
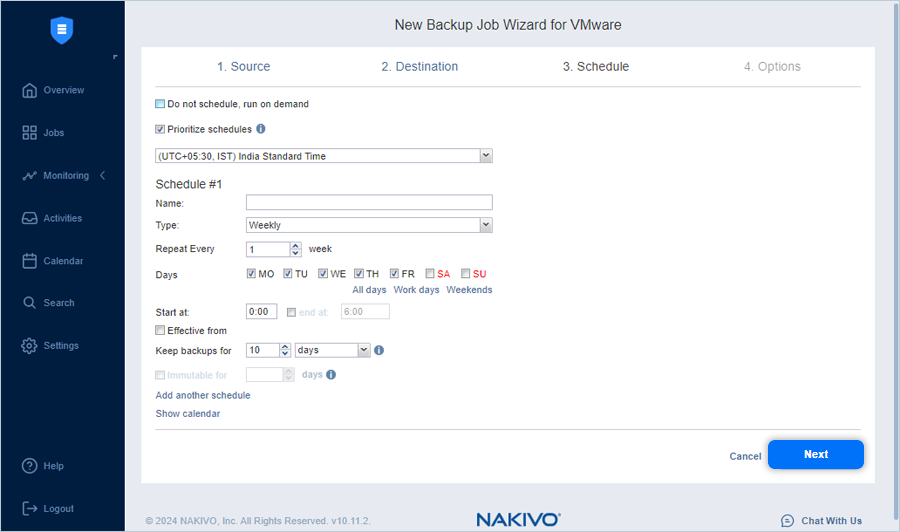
- Schedule a backup as per your requirement and click Next.
- Enter the Job Name and review other options.
- Click Finish.

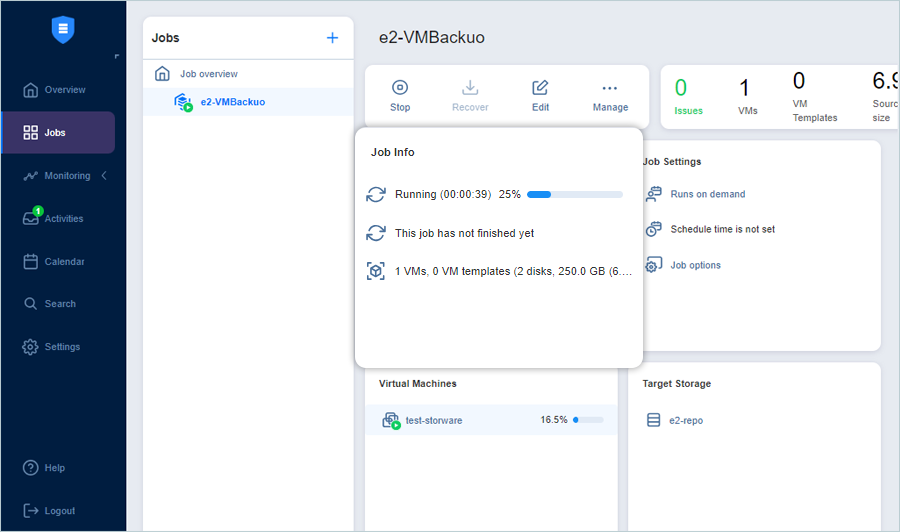
- Select the added job in the Jobs list and click Run.
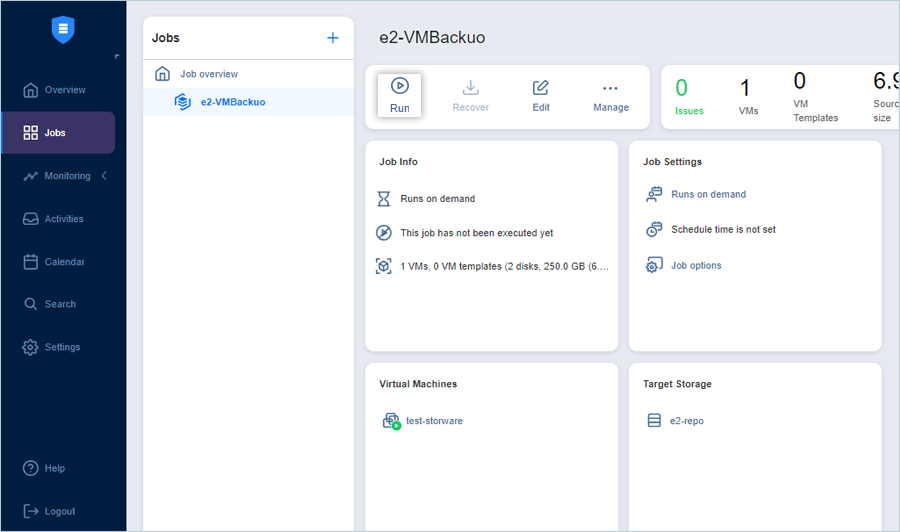
After initiating the backup, the user can monitor the job status in the Job Info tab.
Note: Data restoration is handled by your specific backup solution provider and is affected by multiple variables that are unique to your environment. For application-related enquiries/support, it is strongly recommended you seek guidance from the technical team of your backup solution provider.