Related Links
Integrate MSP360 CloudBerry Explorer with IDrive® e2
MSP360 CloudBerry Explorer lets you access, move, and manage files between your local storage and IDrive® e2 Cloud Storage account. You can easily drag and drop your items into specific buckets and folders. Also, you can drag files from your IDrive® e2 buckets to the local drive on your computer. Learn more about MSP360 CloudBerry Explorer.
Prerequisites:
Before uploading files using MSP360 CloudBerry Explorer, you require:
- An active IDrive® e2 account. Sign up here if you do not have one.
- A bucket in IDrive® e2. See how to create a bucket.
- A valid Access Key ID and Secret Access Key. Learn how to create an access key.
- A valid license for an MSP360 CloudBerry Explorer account.
Configure MSP360 CloudBerry Explorer with IDrive® e2
- Install and launch CloudBerry Explorer.
- Go to Files > Add New Account.
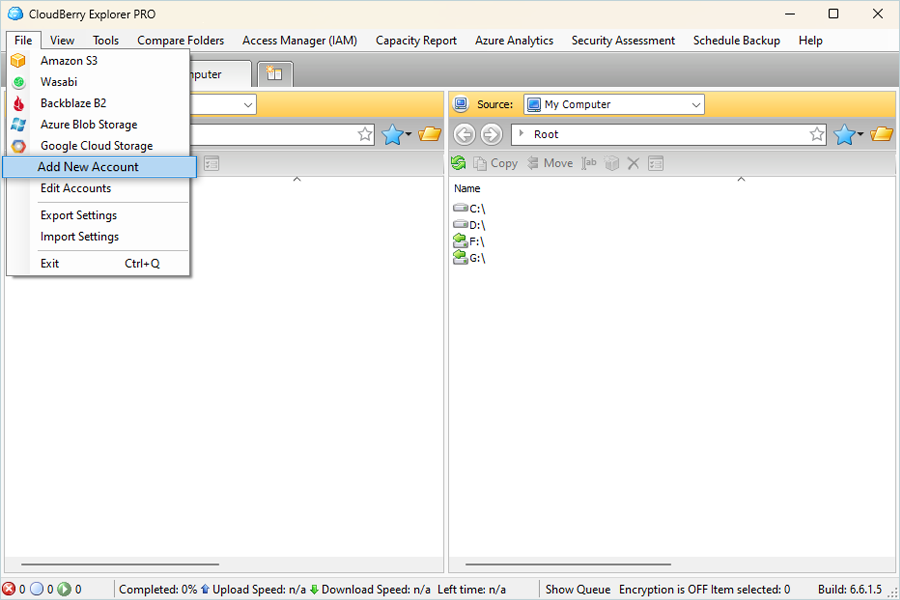
- Select Storage Provider as S3 Compatible from the drop-down.
- Enter a Display name.
- Enter IDrive® e2 storage end-point as a Service point.
- Enter the IDrive® e2 Access key as the Access key.
- Enter the IDrive® e2 Secret Access Key as the Secret key.
- Select Signature version 4.
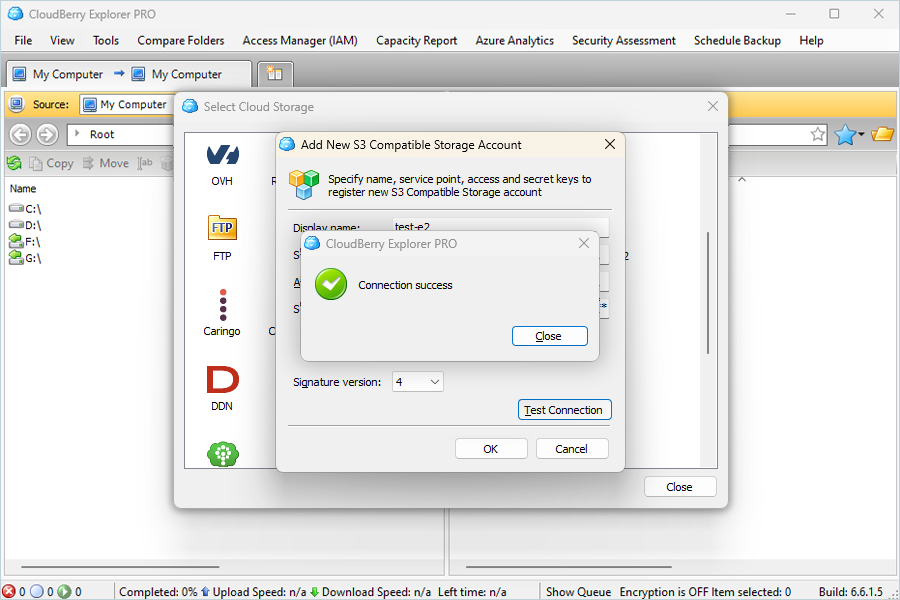
- Click Test Connection.
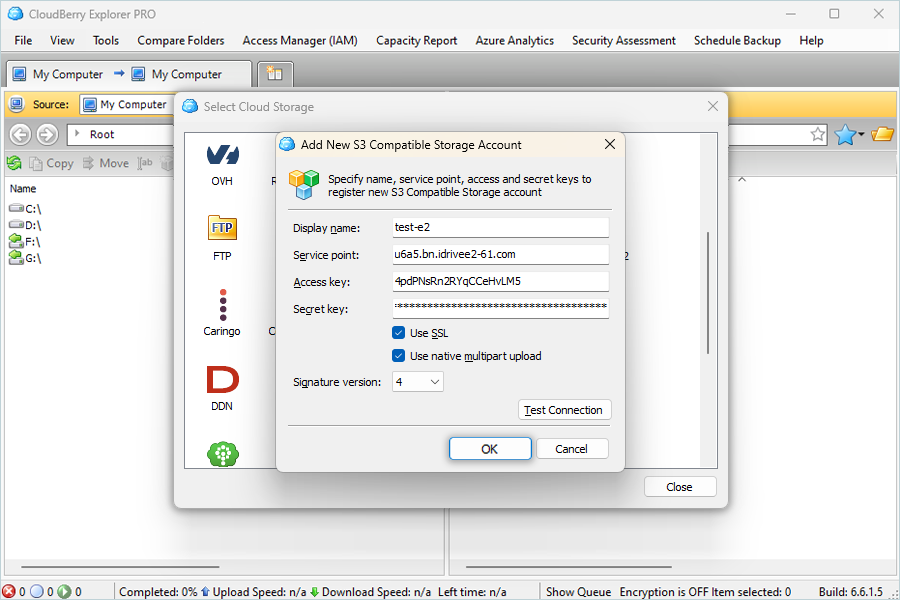
- Click OK.
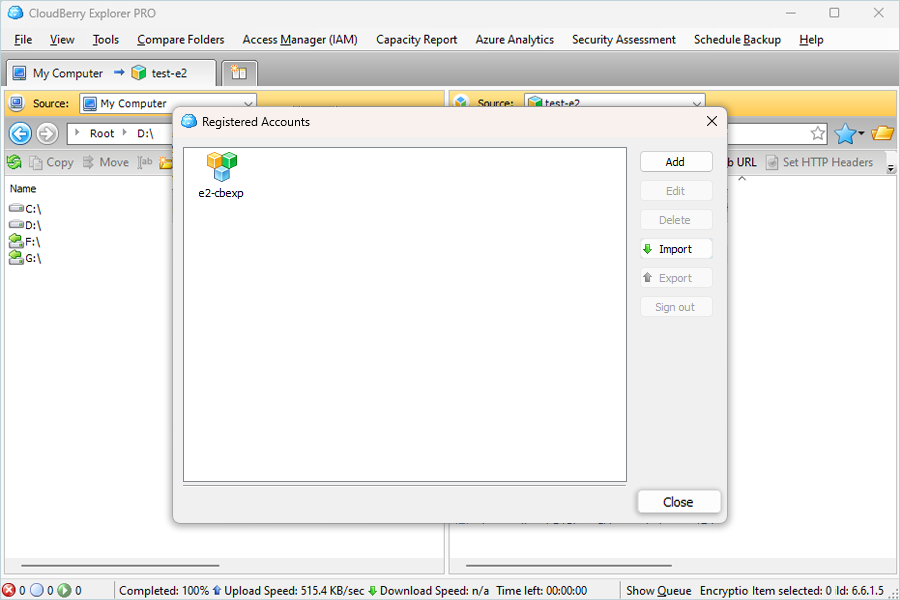
- Verify the added Registered Accounts and close.
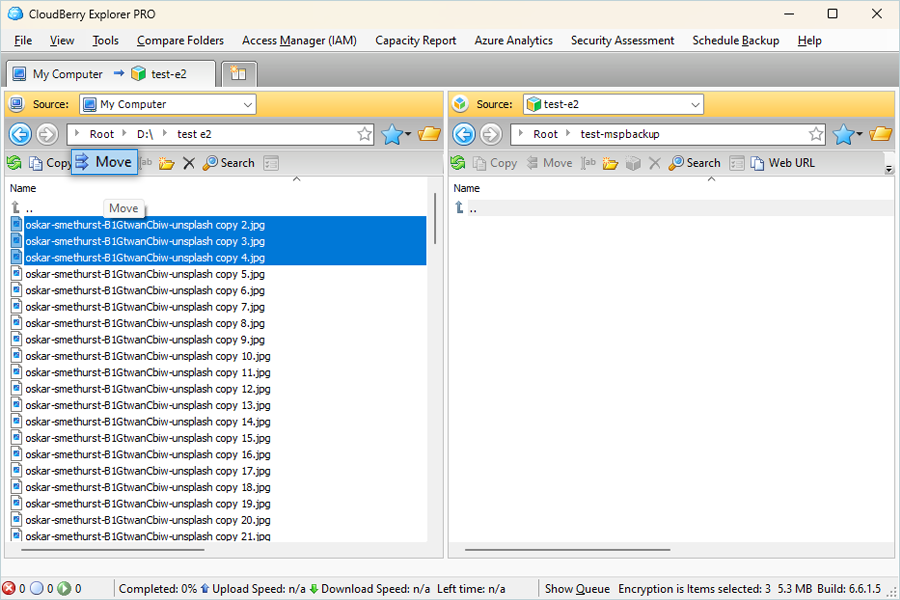
- Select Source in the second tab by clicking on the added storage account.
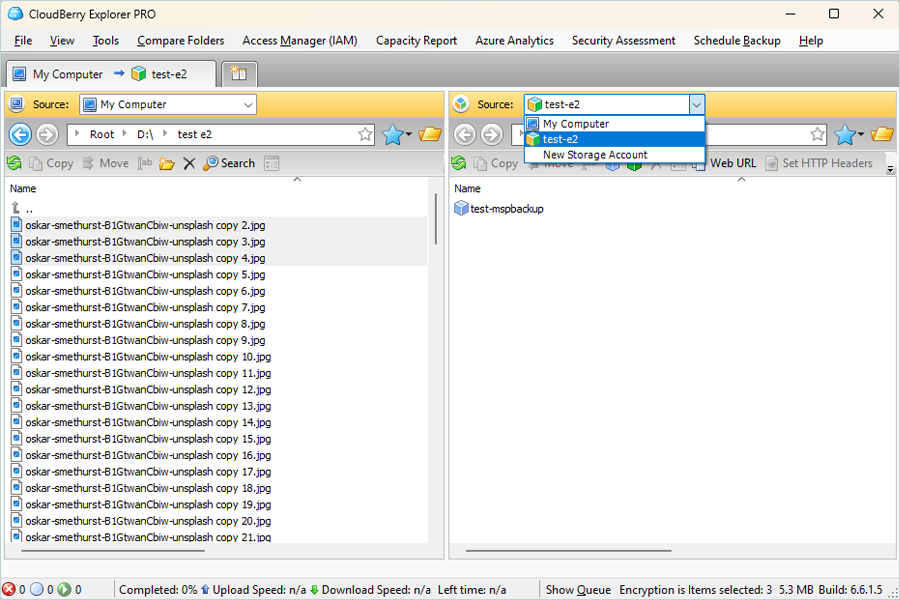
- Select Files from the local drive and click Move.
Result: Now, the user can access the moved files in the IDrive® e2 bucket from the e2 web application.